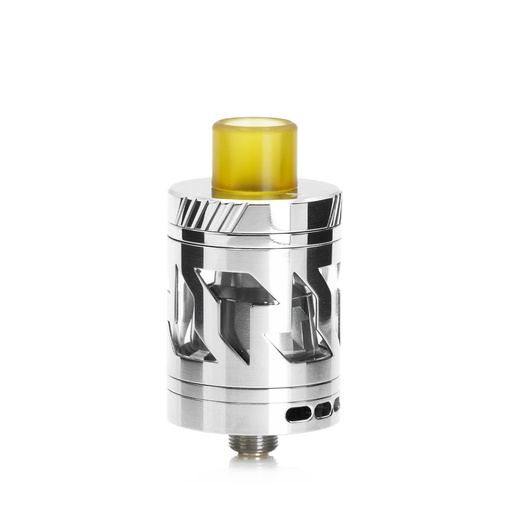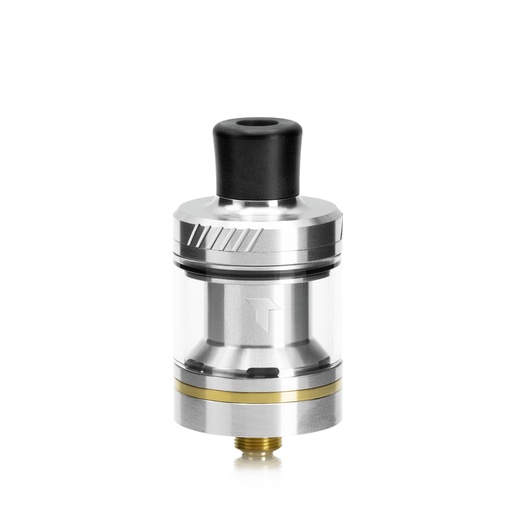
Building an RTA means securing a coil on a deck, checking the circuit, then installing a wick that feeds the coil with liquid. These steps are done in this order. Cotton does not fix an unstable contact, and filling does not validate an electrical build.
Work at a clear table, with your atomizer's manual at hand. This guide gives a checking method; cutting dimensions, coil position and wick placement remain specific to each deck. For a first build, get help if a step or a measurement is unclear.
What tools should you prepare before taking the RTA apart?
Have the tool that matches the deck screws, wire cutters for the wire, scissors for the cotton and a pair of tweezers. A coil jig helps hold the coil while you install it. Add a reliable device to measure resistance and check for short circuits.
A measuring stand or a suitable regulated box mod allows these checks. Assembly and adjustments are done without firing. Never tighten a wire with a conductive tool while the circuit is heating.
Finally, prepare cotton intended for rebuildable use, the e-liquid and a cloth. Keep small screws and wire offcuts apart. An offcut forgotten in the deck or the cap can cause an unwanted contact when reassembling.
How do you choose the wire or the pre-built coil?
Read the RTA's specifications: number of coils, accepted dimensions and recommended build. With a spool, identify the alloy and the wire gauge. With a pre-built coil, also note its inner diameter and its stated value. That value still has to be checked once the coil is installed.
Kanthal, Ni80 and stainless steel are not the same alloy. Do not apply a temperature control setting to a wire based only on its shape. The material and the mode must be explicitly compatible according to the manuals of the box mod and the wire.
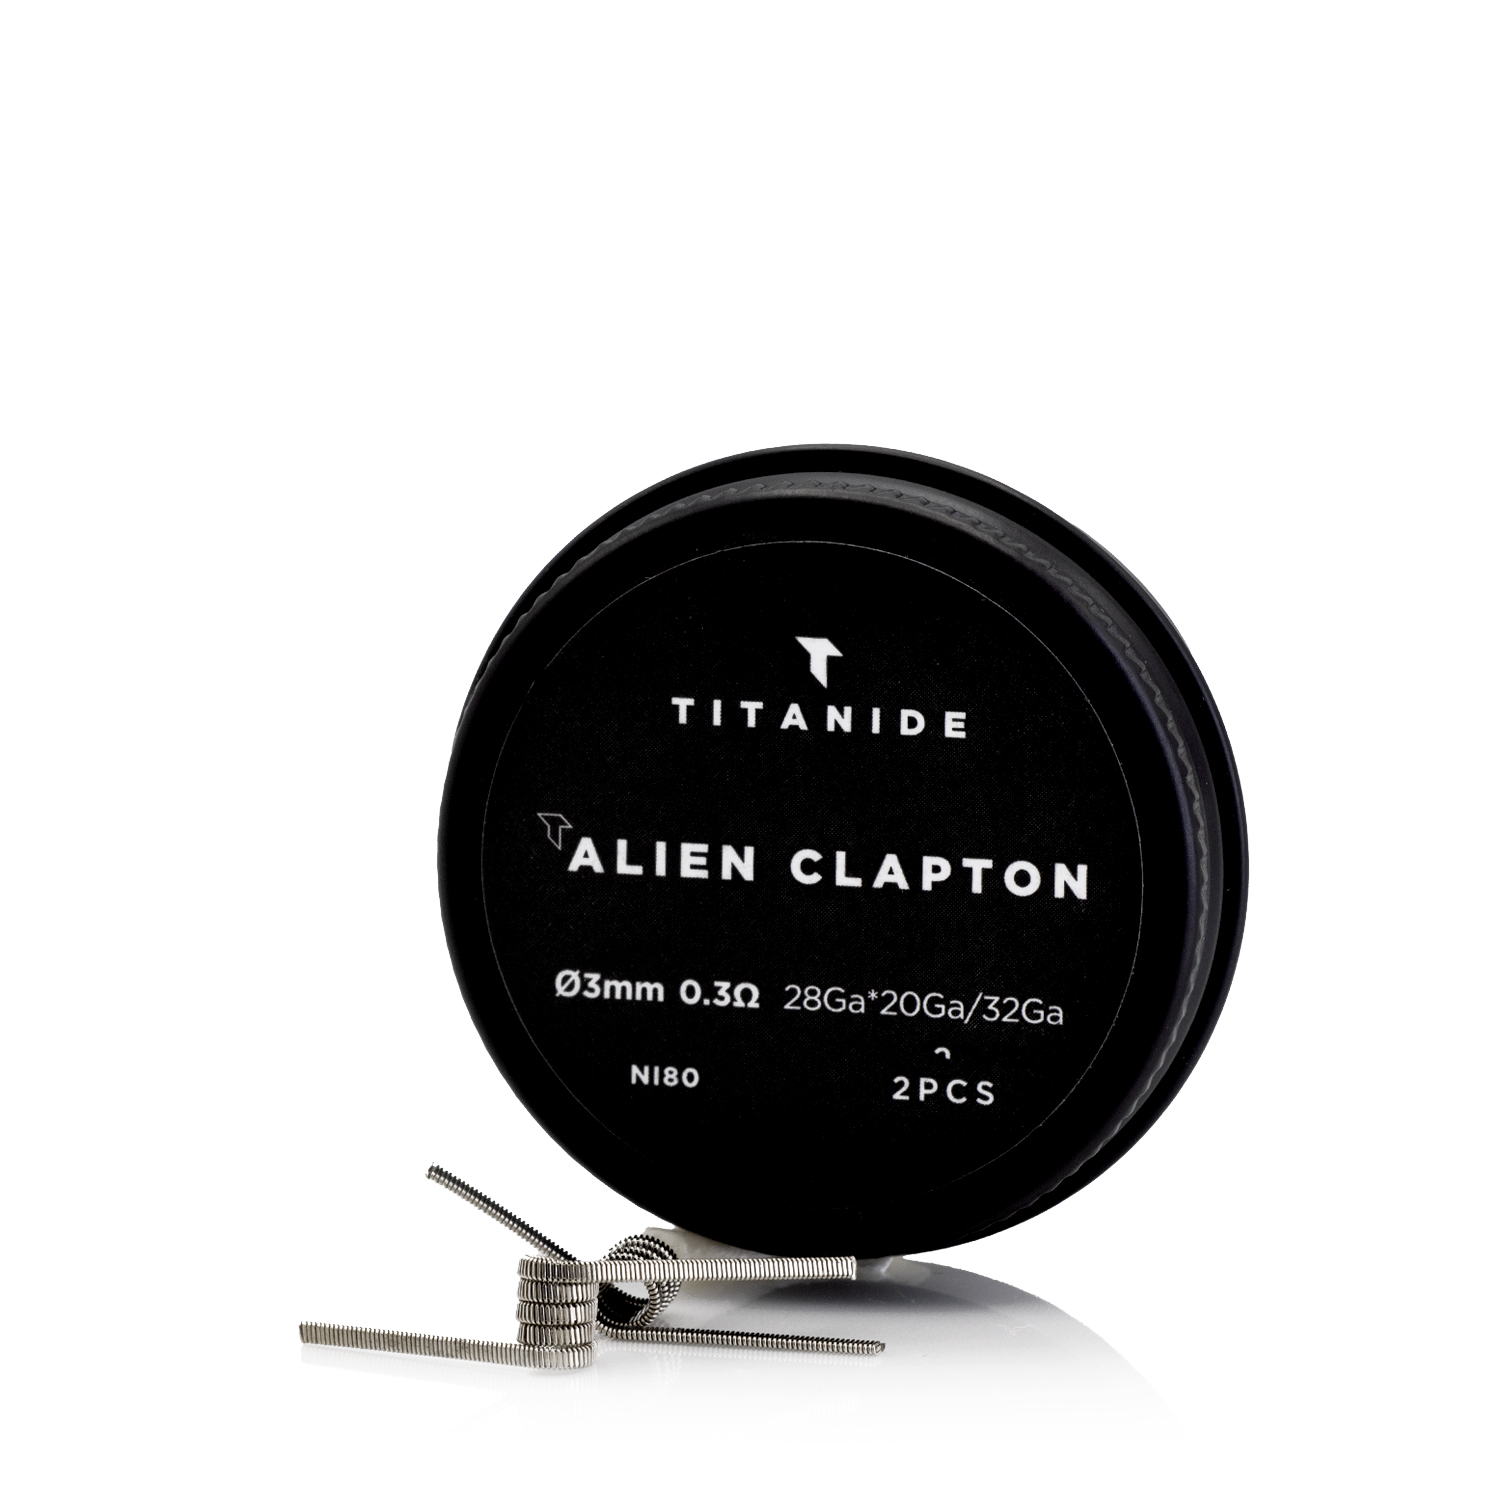
The catalog's Alien Clapton 3.0 mm is a pre-built Ni80 coil. This reference illustrates the information to read, without being a recommendation for all RTAs, notably narrow MTL chambers. Available space and electrical demand still need to be checked.
How do you secure the coil without leaving a stray contact?
Remove the atomizer from the mod and open the deck. Examine the insulators and the mounting points before placing the wire. A cracked or deformed part must be replaced with the suitable reference before the build.
Place the legs in the intended slots and hold the coil on its jig while tightening. Follow the position given in the manual relative to the air inlet. Tighten enough to immobilize the wire, without trying to crush the screw or cut the leg.
On the Leto RTA 20.24, spring-loaded posts hold the build and the legs are cut after securing. Trim the excess to the length the design intends. Check that no end touches the cap when you present it on the deck.
When should you measure the resistance?
Take a first measurement after securing and trimming the legs. Then check stability while gently handling the atomizer and putting its chamber back on. A value that jumps or a short-circuit message means the build must be redone, without firing it.
The value printed on a pack is a reference; it does not replace this measurement. With several coils, the whole circuit counts. Do not use the figure of a single coil as if it automatically described the complete build.
If the coil's manual calls for a heating check before wicking, follow its method and use suitable regulated gear. Do not improvise intense heating or any treatment of the wire. For later mechanical use, also go through the battery check and Ohm's law.
How do you gauge the cotton in the coil?
Let the build cool before placing the cotton. Prepare an even wick and pass it through the coil. It must stay in place without moving or deforming the coil. If you have to pull hard, redo the amount instead of forcing it.
Cut the ends according to the deck's markings. The Leto RTA 20.24 has guides for the cotton; another RTA may call for a different layout. Do not copy a length in millimeters seen on a deck that is not yours.
Place the wicks in the feeding areas without packing them into plugs. Too much cotton can slow the liquid supply; too little can leak. The atomizer comparison recalls this difference between your own cotton wicking and a clearomizer's complete coil.
How do you prime and then fill the tank?
Soak the cotton with e-liquid before any use. Proceed gradually and watch the distribution all the way to the ends. Do not heat a dry wick to speed up this step. A fixed delay alone does not guarantee that all the cotton is fed.
Reassemble the parts while watching the seals and the position of the wicks. On the Leto RTA 24 MTL, the product page asks you to close the airflow while filling, then reopen it. Apply the instructions specific to your model.
Check the resistance again once the atomizer is assembled. Start in the power range intended for the build, on suitable gear. A dry taste, a significant leak or unusual heating calls for stopping and checking, not for more power.
When should you rewick or replace the coil?
There is no number of days valid for all builds. Watch the condition of the cotton, the deposits and how performance evolves. Burnt cotton must be replaced; continuing to soak it does not restore its original state.
Take the opportunity of opening the atomizer to examine the wire, the screws and the insulators. Replace a coil that is deformed or whose behavior stays unstable. See the atomizer spare parts if a tank component is damaged. After each intervention, measure again: a build that has already been used is not validated forever.
Frequently asked questions
Does a pre-built coil remove the need for an ohm meter?
No. It saves you from forming the wire, but securing and reassembling can change the circuit. Measure the installed build and check its stability before use.
Should you pack the cotton to stop a leak?
No. First look for the origin of the leak: seals, assembly, filling or wicking. Excessive packing can hinder the supply. Go back to the layout given for your deck.
Can you rewick without changing the coil?
Yes, if the coil is still in good condition and the manufacturer's maintenance method allows it. Examine the build, replace the wick, prime it and check the resistance again before using it.